
Calenso is one of the only online appointment scheduling tools that supports calendar synchronization with iCloud calendars. With Apple updates, the specific changes are not communicated, which is why many providers shy away from support. Calenso accepts this challenge and offers synchronization with iCloud calendars. You can set up synchronization very easily. It differs very little from setting up Google, Exchange or Office 365 calendars, which are also supported by Calenso. Read on to find out how to connect an iCloud calendar with Calenso.
Connect iCloud calendar
You can easily connect your external iCloud calendar to Calenso. Watch the video tutorial or read the short step-by-step instructions.
This is how it works:
- Log in to your dashboard.
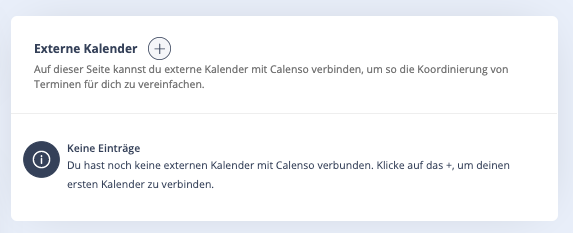
- Go to your settings under "External calendars".
- Add a new calendar by clicking on "+".
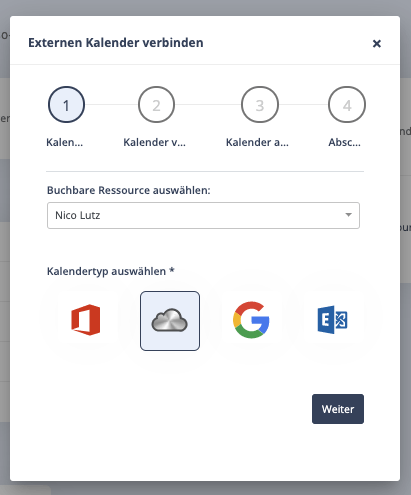
- Now select the icon for iCloud and select the relevant employee.
- Enter the email address and the application-specific password from your iCloud calendar. Read below how to generate an application-specific password for your iCloud address.
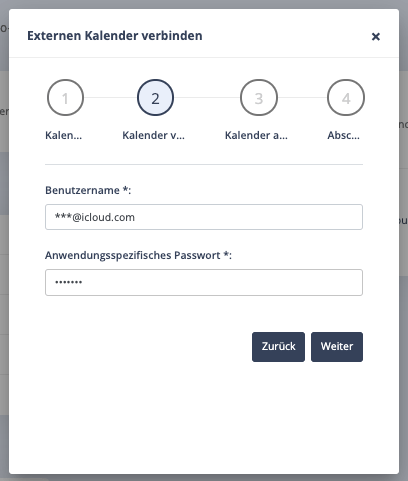
- Click on "Next". You will now see a drop-down list of all available calendars for this iCloud account. Select the corresponding calendar in which new appointments from Calenso should be entered. All calendars are taken into account for the available appointment calculations.
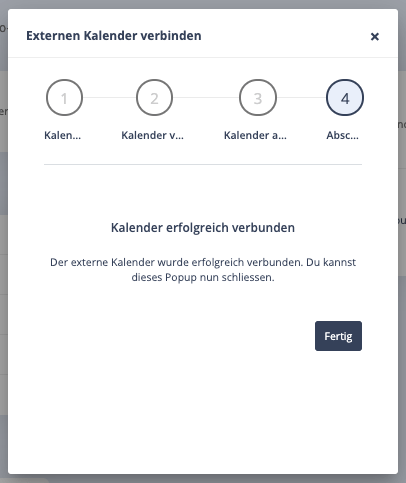
- A message now appears stating that your calendar has been successfully connected. Close the window after this prompt.
Create an application-specific password
Since 2017, you can no longer connect iCloud to your normal data. Now you have to create an application-specific password for all applications that want to use your iCloud calendar. Proceed as follows:
- Go to the following address and log in with your Apple iCloud data: https://appleid.apple.com/account/manage
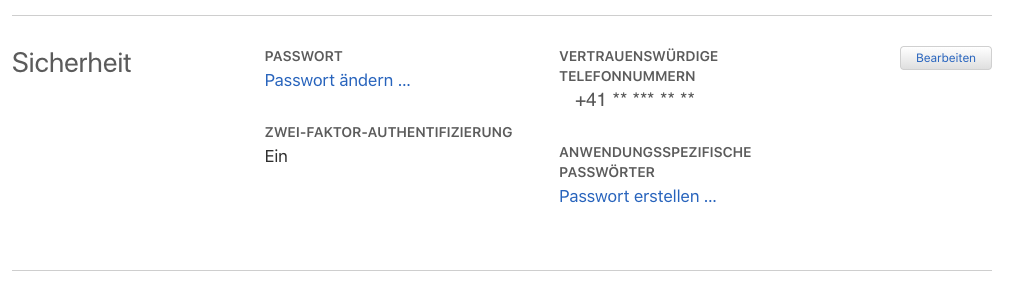
- In the overview, you will see all application-specific passwords under "Security" (second line). Click on "Create password" under "Application-specific passwords"
- Give the password a name, e.g. "Calenso"
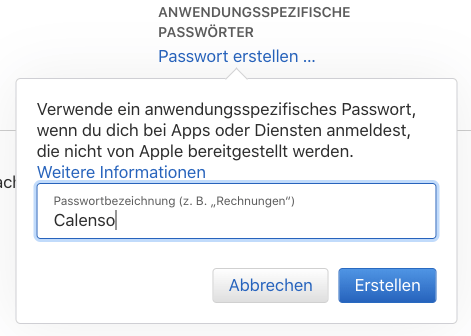
- You will now be shown a code in the format XXXX-XXXX-XXXX-XXXX. Copy this code and paste it under step 5 in the instructions above.
- Done!
Learn more
If you are looking for further help or instructions, please visit our Help Center